How To Sow Seeds: Everything You Need To Know: We can buy seeds from the market for planting, but we can also learn how to sow seeds and plant seeds at home. The enchanted spectacle of a seed’s germination and conversion into an adult plant is enjoyable for both adults and kids alike! This article will provide you with information about how to sow seeds on your own without any hassle and cost at your place.
Before going to elaborate on details about how to sow seeds at your place, first, you need to know about the term sowing.
Contents
- What is Sowing Seed?
- How to Sow Small Seeds?
- How to sow seeds Outdoors?
- How to sow seeds Indoors?
- 10 Easy Steps How to Sow Seeds
- Step 1: Harvest Seeds from Floras and Vegetables
- Step 2: Pick Plates or Containers and Bore Holes If required
- Step 3: Fill the Container with Sterilized Seed Compost (Seed-Starting Potting Mix)
- Step 4: Moisturize the Surface of the Compost
- Step 5: Scatter the Seeds Consistently Over the Compost
- Step 6: Cover the Seed Tray and keep it in a warm place
- Step 7: Expose the Seedlings Once They Develop
- Step 8: Transfer the Seedlings to Separate Pots
- Step 9: Keep Relocated Seedlings Out of Straight Sunlight While They exhibit Roots
- Step 10: Toughen Off and Plant Out
- Final Thought: How To Sow Seeds?
What is Sowing Seed?

Sowing seed is carried out to let the seed germinate, and new stems and roots come out from the seed, which can then be planted in soil to allow the growth of the plant. By this process, many crops are grown and harvested in agriculture. It is a sustainable way to improve the plant environment. But the process is only successful if you know how to sow seeds.
How to Sow Small Seeds?

When you are arranging your garden, it can be alluring to pass over a varied choice of plants that have miniature seeds. From microscopic seeds such as brassicas or carrots to the minuscule tropical orchid seeds that look like no more than a portion of dust on the airstream, these tiny seeds can need some distinct handling to get the finest germination rates, seedling arrangement, and yield.
Here are a few choices to deliberate when planting your garden or seed trays with these miniature seeds:
Using Toothpick: A moist toothpick works well to pick up a single tiny seed and deliver it to the soil surface, where it can be gently scraped off onto the soil.
Premix with Media: Mix your tiny seeds with fine sand or another fine dry soil. If sand is not available, you can run some soil in a grinder or food processor to make it smooth and fine. As the seeds become scattered throughout the media, a smaller amount will fall into a solitary space as you are planting. Once the media and seeds are mixed properly, merely sprinkle the mix along your row, pat mildly into place, and water.
Hopefully, now you won’t face any difficulties sowing tiny seeds as you got to know how to sow tiny seeds.
How to sow seeds Outdoors?
First of all, you need to prepare your garden bed and dug some portion of the soil to place your seeds for sowing and then cover the seeds with the soil; this process is also known as direct sowing.
How to sow seeds Indoors?
You can also sow seeds indoors. Fill a container with some soil compost and then add seeds to it. Make sure there are holes in the container so the water can come out. When the stems start to emerge, place them in sunlight. Avoid direct sunlight and overwatering.
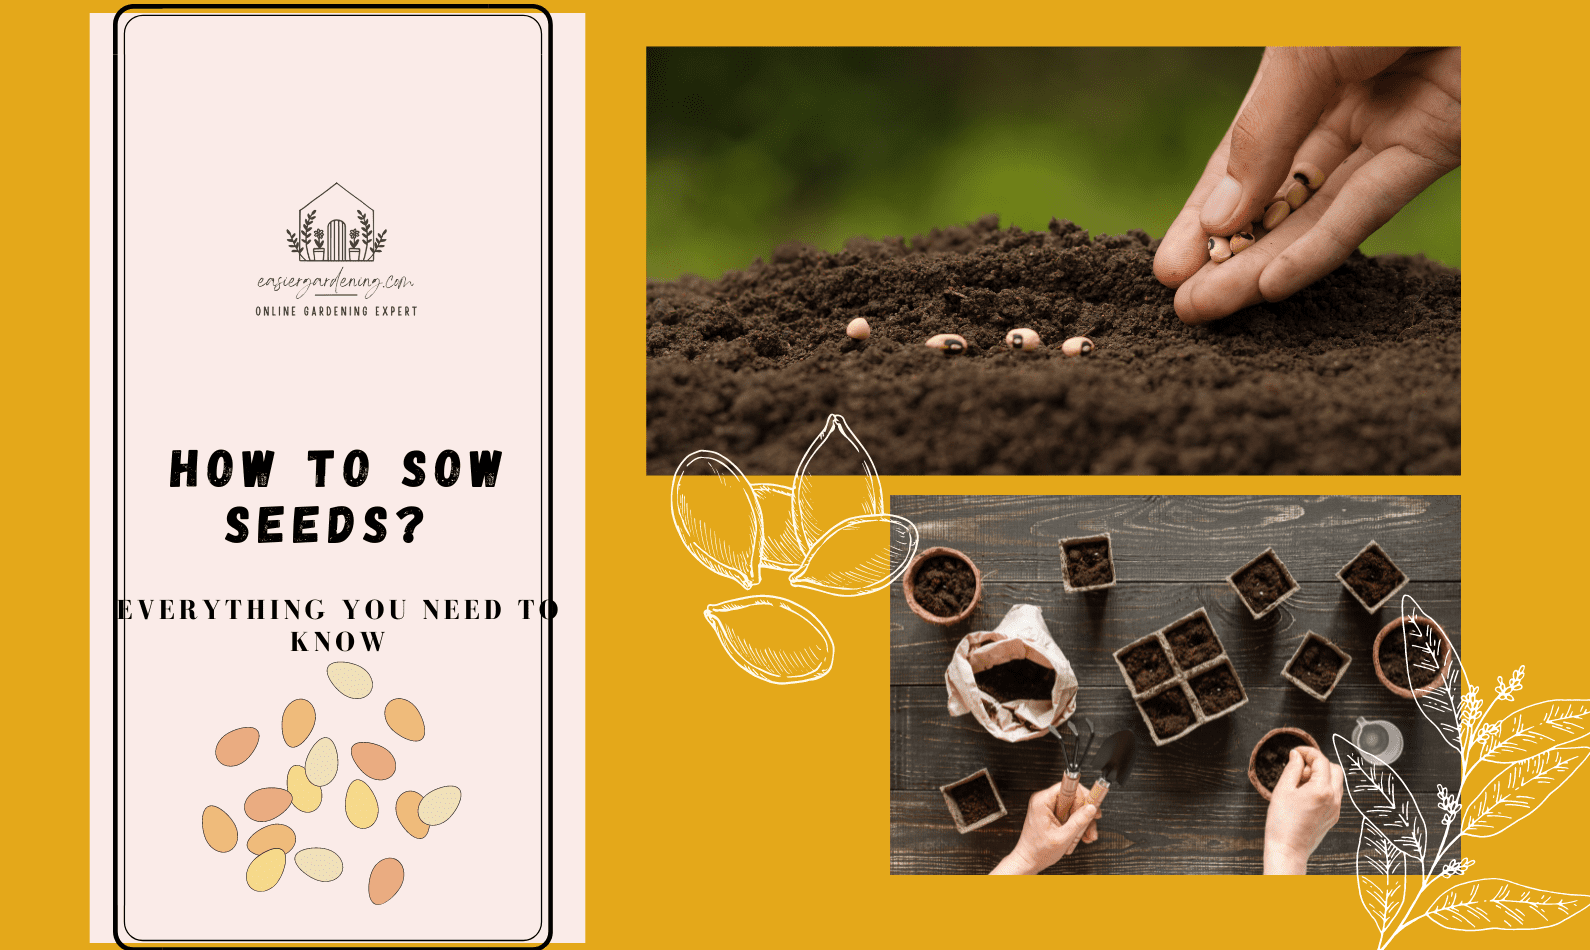
10 Easy Steps How to Sow Seeds
Step 1: Harvest Seeds from Floras and Vegetables
Collect your desired seed you want to sow from the plant after the flowering season is over.
- Choose a dry and sunny day for collecting the seeds.
- Use a paper bag or envelope for shaking the seeds instead of plastic bags as plastic retains moisture and promotes mould growth. Some vegetation has pods which are just an alternative figure of the ovary. You can rive these open by hand and collect the seeds, pods that are “spring-loaded” can twist and riven open themselves, throwing seed all over, so gather those seeds before this occurs.
- Store the seeds in a dry and cool area before you are ready to sow them.
When to collect the seed?
The best time to collect seed is when the ovaries ripe. During ripening, they will become crisp, dried-out, and beige. Sometimes, with plants like marigolds, the ovary will divide, revealing bunches of seeds. Other floras have a capsule-like ovary.
Step 2: Pick Plates or Containers and Bore Holes If required
You can sow seeds in proper seed plates bought from a store. Alternatively, you can use a cookie tin, pot, hollow food container, or roughly like that. If there are no holes in the bottom of the container, make some with a nail or drill. Make holes a few inches apart. This permits water to drain from the can and stops it from collecting, which could make the seed compost excessively wet.
Step 3: Fill the Container with Sterilized Seed Compost (Seed-Starting Potting Mix)
Use a sterilized seed compost like this seed preliminary potting mix from Amazon if achievable. You can also buy a versatile seed compost, but do not use soil dug up from your orchard, as this will be clumpy, contain lots of vermin and diseases, and dehydrated quickly. From my experience, however, it’s best to buy proper compost to maximize the chances of germination.
Step 4: Moisturize the Surface of the Compost
Moisturize the surface of the compost with a fog spray. You can use a watering can, but if its sprinkler rose has minor holes, it will overflow the compost.
Step 5: Scatter the Seeds Consistently Over the Compost
Scatter mini seeds above the compost from the palm of your hand with your finger. Do not cover mini seeds by soil, as it can clutter them. Bigger seeds can be positioned one by one on the compost and then shielded with a scattering of compost.
Step 6: Cover the Seed Tray and keep it in a warm place
Using a glass, a magazine, a slate, a piece of plastic, plywood, or whatever you have, covered the seed tray and then placed it in a warm spot. This avoids the compost from dehydrating and keeps the seeds in the dim, which helps germination. The best temperature for sprouting is 64F(18C).
If you live in an environment with cold winters, it may be too cool for sprouting so that you can place the plate in a plant propagator (or otherwise locate it in a hot area close to a hot water reservoir or near your furnace).
Check the seed plate after a twosome day, and then keep examining it for signs of sprouting.
Step 7: Expose the Seedlings Once They Develop
It is very significant to expose the seedlings and display them to light once they develop, or else they will quickly become straggly, with very long, slim stems.
Avoid strong sunshine; the surface of compost can quickly dry out, particularly if it is breezy, and the sprouts may perish. It is perhaps best to keep them out of straight sunlight until a few sets of leaves emerge.
Step 8: Transfer the Seedlings to Separate Pots
As soon as seedlings have grown a few couples of “true leaves” and are large enough to handle without impairment, they can be relocated into separate pots or plates. Some sprouts are quite minor and subtle, so it is finest to wait till they get larger. In the new container, make a hole with your finger or the popsicle pole in the compost, drip the seedling into the hole and mildly press the compost back about the roots.
Step 9: Keep Relocated Seedlings Out of Straight Sunlight While They exhibit Roots
This is significant if it is hot and sunlit. If you didn’t achieve to keep a little portion of compost trapped in the roots, and they were bare during transplantation, the uncovered roots can dry out fast. So, keep seedlings out of straight sunlight (but not in a shadowy or too shaded spot) for a week while waiting for the roots to grow into the new compost and have a well chance of gripping moisture. In gloomy, cloudy weather, you do not need to do this.
Step 10: Toughen Off and Plant Out
When plants have touched the phase where their roots are opening to appear from the bottom of the pot, they can be implanted out to their ultimate site.
Read more about How to Get Rid of Clover?
Final Thought: How To Sow Seeds?

In this article, we’ve tried to assemble all the info you need to know about how to sow seed on your own. Though it is not an easy task, it doesn’t require a full-time commitment if you know the process and methods. Hopefully, it’ll help you near future to sow your desired seeds for gardening.