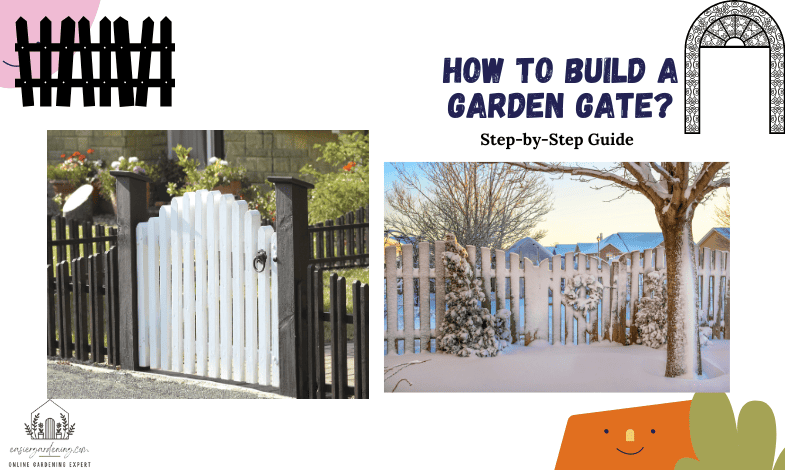
Step-by-Step Guide on How to Build a Garden Gate Easily [DIY Method]: Do you have a beautiful garden without a gate? Well, then this is time to build one. If you do not know how to build a garden gate, this article will assist you.
We have seen many articles on the internet which provide complicated instructions. That’s why we have decided to write this article in the easiest way possible.
If you are looking for how to build a simple garden gate, then this article is perfect for you. Continue reading till the end to get a simple step-by-step guide on building a garden gate.
Read more about How to connect the garden hose to an outdoor faucet?
Contents
- How to Build a Garden Gate: Step by Step Guide
- Step 1: Preparation
- Step 2: Dig Post Holes & Set-up
- Step 3: Frame Construction
- Step 4: Prepare the Crosspiece
- Step 5: Create & Install Pales
- Step 6: Secure the Braces
- Step 7: Attach Hinges
- Step 8: Install the Gate
- Step 9: Add a Latch & Finish
- Final Thought: How to Build a Garden Gate?
- What is the standard size of a garden gate?
- Wooden or metal, which is better for garden gates?
- What type of wood is best for gates?
- Are wooden garden gates cheaper than metal gates?
How to Build a Garden Gate: Step by Step Guide
You can build a garden in many different ways. Below, we have provided the easiest instructions on how to make a garden gate. Follow the steps with caution to avoid any mistakes.
Step 1: Preparation
At first, you need to take preparation and ensure you have the basic tools and materials. These include stakes, mason, or something else to dig holes. Then the obvious material is woods for making the gates. Here we will use cedar woods.
You will also need a measurement tape, a circular saw, a hammer, a few bolts, a latch, etc. As you proceed through the steps, you will get an idea of what more you may need.
Step 2: Dig Post Holes & Set-up
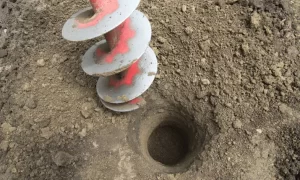
Now start digging holes for the posts. Dig two holes, and the distance between them depends on your preferences. Try to dig deep which can cover at least one-third of the post length. The diameter should be three times the diameter of the post.
After digging, set up the post and bury the base. Try using self-adhesive flashing from the bottom to the ground level to avoid rot.
Step 3: Frame Construction
Now it is time to construct the frame for the gate. We hope you already have the woods of the correct shape or may cut with the saw. You will need four pieces of wood.
Use the tape to measure the post length, width, and height to determine the size of the frame. Now, cut the wood pieces with slightly smaller sizes so the frame can fit with the post. Use steel screws on the edges to fit all the pieces together.
Step 4: Prepare the Crosspiece
You also need to add a crosspiece in the frame. So, get a wood piece and hold it on the frame from one corner to another. Mark the edges of the wood pieces you need to cut to fit them inside the frame.
Then use a circular saw to cut corners. Then install it in the frame. Like the previous step, use steel screws to attach them.
Step 5: Create & Install Pales
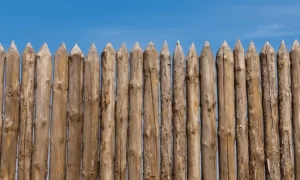
Now you need to prepare the pales to match the size of the frame. Measure the height of the frame and cut the wood accounting to that size. Use bevels to strip off the sides of the woods. If you want, you can also do some designs and cut the woods in different sizes.
The number of pales you will need depends on the size of the frame. And also on the space, you want to leave between the pales. Once you have completed sizing all the pales, proceed to install them. Screw all the pales one by one on the gate frame.
Step 6: Secure the Braces

People often ask, how do you make a strong gate? Well, if you want to strengthen your garden gate, you must have braces.
Cut two wood pieces matching the width of the frame—one for the top and another for the bottom. Now install them on top of the pales with screws.
Step 7: Attach Hinges
Now take the gate where you want to install it. Position it inside the posts as you would like to place the gate. Then mark the points where you want to set the hinges. Two hinges will be fine, though you can use three hinges if the height is very high.
After marking them, attach the hinges to the frame. You will have screws with the hinges. Use a hammer to set them well. Be careful with the placement of the hinges. Ensure you set them straight to avoid auto-swinging.
Step 8: Install the Gate
After you have attached the hinges, you are ready to install the garden gate. Take the help of another person to hold the gate steady on the post. Then you go for attaching the hinges on the post.
Make sure the person helping you holds the gate steady and level. Or else the gate will swing automatically, which can be irritating. First, attach the bottom hinge and hold the upper hinge by hand. Adjust the position to ensure the garden gate stays level and then screw the hinge.
Step 9: Add a Latch & Finish
You are almost done building your garden gate. In the last step, add a latch to the garden door. Close the gate and mark the position to install the latch. Drill the pilot holes and mount the latch to finish. Congratulations! You have built a garden gate all by yourself.
Final Thought: How to Build a Garden Gate?
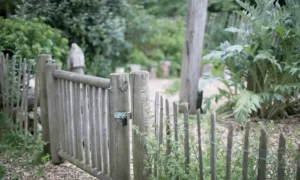
We hope you have understood how to build a garden gate. We recommend you use stains on the woods to protect them from harsh weather. You also can use white color on top of the sealant as it looks pretty beautiful. If you have any more questions regarding how to build a wooden garden gate, feel free to contact us.
Read more about When is it too late to plant a garden?
Frequently Asked Questions
What is the standard size of a garden gate?
The Garden gates can be single doors or double doors. The standard size of a single-door garden gate is 3 feet -6 feet tall with a width of 3 feet -4 feet.
Wooden or metal, which is better for garden gates?
A metal or steel gate is more sturdy and long-lasting. In contrast, a wooden gate is more sustainable if you care about the environment. So it’s really up to you to decide which one will be best for your garden.
What type of wood is best for gates?
If you are going with a wooden gate, the best two options will be Iroko and European Oak. These are basically the most popular types of hardwood used for garden gates.
Are wooden garden gates cheaper than metal gates?
Most of the time, yes. Because of the material used and the additional labor cost, metal (steel, iron) gates are a bit more expensive than wooden gates.