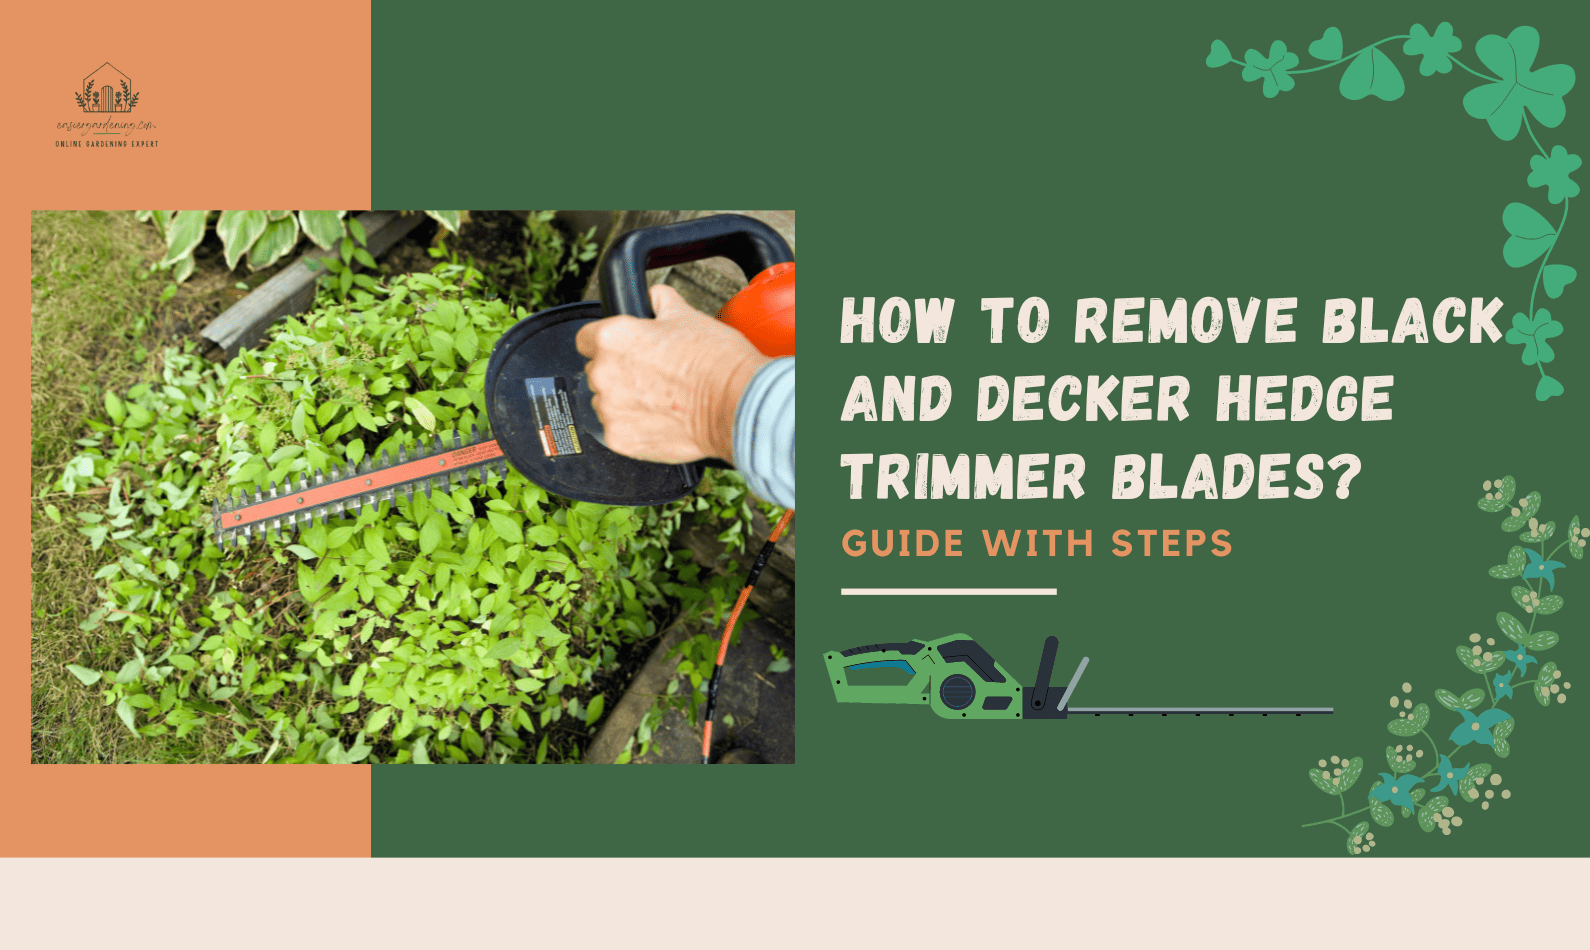
How To Remove Black And Decker Hedge Trimmer Blades?: Black & Decker offers a variety of low-cost electric hedge trimmers that essentially meet consumer expectations. According to users, they make difficult tasks more accessible, efficient, and lightweight. Battery-powered models are praised for their long battery life and ease of charging. The majority of critics have nothing but positive things to say, with just a few exceptions.
Replacing a hedge trimmer blade isn’t as difficult as it seems and is very easy. Here are a few tips to help you get through the process quickly and safely.
Contents
- How To Remove Black And Decker Hedge Trimmer Blades?
- Step 1 – Check out your Trimmer
- Step 2 – Finding a Replacement Blade
- Step 3 – Take Out the Old Blade
- Step 4 – Putting the New Blade In
- Step 5 – Test the Blade
- Common Factors to Consider When Buying Hedge Trimmers
- Power
- Cost
- Length
- Types of Blades
- Weight
- Conclusion: How To Remove Black And Decker Hedge Trimmer Blades?
How To Remove Black And Decker Hedge Trimmer Blades?
-
Step 1 – Check out your Trimmer
The first thing you must do is ensure that the hedge trimmer you have cannot be sharpened. It is a very common mistake that people make, and they believe they need to go out and buy a new blade when they can sharpen it themselves or get it finished. If the blade is bolted in, you can sharpen it and avoid purchasing a replacement (and you can skip the rest of these steps). If it’s not locked down, you know you can replace it. If you need to repair your blade, look for the model number and brand to carry in.
-
Step 2 – Finding a Replacement Blade
You’ll need a new blade to replace the old one. If you don’t trust yourself to write down the model and brand number, you can carefully carry the old blade into the store with you.
-
Step 3 – Take Out the Old Blade
When working with sharp objects, such as cutting and repairing blades, it is best to wear gloves and safety glasses.
You must first remove the old blade before inserting the new one. It is done differently depending on the model, but you can usually press an eject button to loosen up the blade and gently wiggle it out. If there isn’t an eject button, turn it and pull it out. Many come with directions, or you can tell by looking at the area around the blade.
-
Step 4 – Putting the New Blade In
The last move is to insert the new blade. Again, make sure your eyes and hands are covered, and then, in the same manner as you removed the old blade, slip in and secure the new blade.
-
Step 5 – Test the Blade
Testing the new blade in the air away from other people is safe to ensure that no one is injured and that the blade is stable and functional. While this step is not needed, it is highly recommended.
Common Factors to Consider When Buying Hedge Trimmers
If you’ve decided the needs of your specific yard and determined the best form to use, you’re ready to consider the other various factors and features that different hedge trimmers have to offer. Here are the key factors to remember during your quest.
-
Power
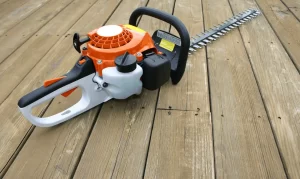
Hedge trimmers are effective tools, but the amount of power available varies by product. The power source is the most important measure of power. Gas hedge trimmers would be more efficient than electric versions for hedge trimming. On the other hand, electric versions come with a range of power levels. Those with a high voltage can complete more complex tasks faster than some more affordable versions with a lower voltage.
Read more about How to Edge with a Curved Shaft Trimmer?
The amount of power required is entirely dependent on the type of hedges you’ll be trimming, their scale, and how much power you’re comfortable wielding.
-
Cost
Higher power and greater comfort are the key reasons for paying a premium for hedge trimmers. The least expensive hedge trimmers would be corded, lightweight models optimized for simple tasks. These can be purchased for as little as $30.
When you incorporate the flexibility of a cordless model, the minimum price rises to about $60, but the ability to trim further hedges from further away from the house dramatically improves. A more powerful battery, a longer blade, and a quicker charging time can all add to the cost while making larger jobs easier.
Gas hedge trimmers are typically more expensive than electric hedge trimmers, with prices ranging from about $250 to more than $500. The more expensive gas models are useful for contractors and companies, while most home users should meet their needs with a less expensive option.
-
Length
Hedge trimmers are available in a variety of blade lengths. Longer ones can help you cut your hedges more uniformly, but they can also be challenging to maintain and unwieldy if you’re operating in a confined space.
An 18” blade would suffice for most standard hedges. If your hedges are larger than normal, a 20” or larger blade will make the job easier if you have enough space to maneuver it. If you’re new to hedge trimming, it’s best to start with a shorter blade because it’s better while you’re still getting used to the job.
-
Types of Blades
Other than weight, the only two concerns to be aware of when it comes to your blades are how far apart the blade teeth are and whether your blades are single or double-sided.
Read more about How to Clean Your Hedge Trimmer Blades?
The distance between the blade teeth, also known as the blade gap, determines how effective your hedge trimmer would be for various types of branches. Commercial hedge trimmers typically have blade gaps of an inch or more, but many home users would be happy with blade gaps in the 3/8-to-34-inch range.
Since you can conveniently hold the side of the trimmer with the blade facing away from you, single-sided blades are simpler and easier to handle. However, a double-sided option for those familiar with hedge trimmers will speed up the trimming process since it cuts on both sides simultaneously.
-
Weight
The weight of a hedge trimmer has a major effect on its ease of use. Heavy hedge trimmers are more difficult to keep aloft and can quickly exhaust even experienced users, but they are more effective. Lighter models would be simpler and safer to use in general, particularly for those new to operating a hedge trimmer.
Conclusion: How To Remove Black And Decker Hedge Trimmer Blades?
After completing these steps, you are done and can resume your hedge trimming duties. When purchasing a new hedge trimmer, ask the store if they provide blade replacements to customers and, if so, what the fee is. Depending on where you buy the hedge trimmer, they will also do the replacements if you bring it in. However, they also do not tell you this upfront unless you ask them directly.


